Ceiling Fan Installation in San Antonio, TX

Beat the Heat: Expert Ceiling Fan Installation
Struggling with the oppressive humidity and 100°F days common to the region? A professionally installed ceiling fan can offer you immediate comfort and significantly improve energy efficiency in your home, fast. Relying solely on air conditioning during a San Antonio summer often leads to skyrocketing utility bills and uneven cooling throughout the house. Contact us today or apply for financing to get your cooling solution started immediately.
ReliaBee Air, Electric, & Plumbing understands that proper airflow is essential for keeping your home livable when the outdoor temperatures climb. Our installation services provide a definitive solution to stagnant air and high energy consumption.
- Experience immediate relief with scheduled installation services designed to get your system running quickly.
- Enjoy peace of mind knowing the work is performed by licensed and insured technicians familiar with local electrical safety standards.
- Receive custom installations tailored to your home’s unique architecture, ceiling height, and wiring requirements.
- All installations are backed by warranties and adhere strictly to local building codes, ensuring your installation is done right the first time.
Need Quick Cooling? Ceiling Fan Installation is Here
In the height of summer, a static room feels significantly hotter than the thermostat reading suggests. This is because air that isn't moving allows heat to radiate and settle around occupants. A ceiling fan creates a wind-chill effect that makes a room feel up to 8 degrees cooler without actually lowering the room temperature. This allows homeowners in San Antonio to raise their thermostat settings, reducing the load on the central air conditioning unit and prolonging the HVAC system's lifespan.
However, achieving this comfort requires more than purchasing a unit from a hardware store. Many homeowners attempt DIY installations only to face wobbling fixtures, noisy motors, or dangerous electrical complications. An improper installation can lead to ceiling damage or electrical shorts, posing a fire risk. Professional installation ensures that the fan is anchored correctly to a structural support beam or a fan-rated junction box, rather than a standard light box which cannot support the weight and vibration of a spinning motor — schedule service today.
Whether you need to cool a master bedroom, a high-ceilinged living room, or an outdoor patio, professional service ensures the unit is sized correctly for the square footage. A fan that is too small will not move enough air to be effective, while a fan that is too large can create an overpowering wind tunnel effect. Getting this balance right is critical for maximizing comfort and energy savings.
What Our Ceiling Fan Installation Includes
When you schedule professional service, the goal is to provide a turnkey solution that transforms a boxed product into a fully functional fixture without you lifting a finger. The scope of work goes beyond simply connecting wires; it involves a comprehensive assessment of your electrical system and structural supports.
Site Assessment and Preparation
Technicians begin by evaluating the proposed location for the fan. This includes checking existing wiring to ensure it is compatible with the new unit's amperage requirements. If the location previously housed a simple light fixture, the technician will verify if the existing electrical box is rated for ceiling fans. Standard plastic or light-metal boxes used for static lights are not designed to handle the torque and dynamic load of a fan. If a non-rated box is found, it must be replaced with a heavy-duty, fan-rated brace or box to prevent the fixture from falling.
Assembly and Mounting
Modern ceiling fans often come with complex assembly requirements, including blade irons, motor housings, and integrated lighting kits.
- Technicians handle the precise assembly of the motor and blades to ensure perfect balance.
- The mounting bracket is secured to the ceiling joists or the fan-rated box.
- For high or vaulted ceilings, specific downrods are calculated and installed to ensure the fan hangs at the optimal height for airflow (usually 8 to 9 feet above the floor).
- For lower ceilings, flush-mount or "hugger" installation methods are utilized to maintain safety clearance.
Electrical Configuration
The wiring process involves connecting the fan motor and the light kit (if applicable) to your home’s power supply.
- This includes configuring wall switches. In many cases, homeowners prefer separate switches for the light and the fan speed.
- If your home does not have a dual-switch setup, technicians can install remote control receivers inside the fan canopy, allowing you to control fan speed and lighting intensity from a handheld remote or wall-mounted cradle.
- Proper grounding is verified to prevent electrical shock and protect the unit's internal electronics.
Balancing and Testing
Once mounted and wired, the installation is not complete until the unit runs smoothly.
- The technician tests the fan at all speeds to detect any wobble or motor hum.
- Blade balancing kits are applied if necessary to correct minor weight discrepancies in the manufacturing of the blades.
- Reverse functions are tested to ensure the fan can operate in both summer (counter-clockwise) and winter (clockwise) modes.
Our Hassle-Free Installation Process Explained
We have refined our workflow to minimize disruption to your day while maximizing safety and efficiency. We understand that inviting a technician into your home requires trust, which is why the process is transparent and structured.
- Scheduling and Arrival: First, you book an appointment that fits your timeline. The technician arrives fully equipped with the necessary tools, ladders, and standard electrical supplies. You will receive a notification when the technician is en route.
- Site Protection: Next, the work area is prepared. Drop cloths are placed under the installation site to catch any drywall dust or debris. The technician ensures that furniture is moved or covered to prevent accidental damage.
- Safety Verification: Before touching any wires, the circuit breaker controlling the room is identified and turned off. The technician uses a voltage tester to confirm that power is completely cut to the fixture to ensure a safe working environment.
- Removal of Old Fixtures: If you are replacing an existing light or old fan, the technician carefully removes the old unit, disconnects the wiring, and inspects the condition of the supply wires. If the insulation on the old wires is brittle or damaged, it is trimmed and stripped back to expose fresh copper for a solid connection.
- Structural Installation: The fan-rated box is installed or verified. This is the most critical step for physical safety. The mounting bracket is screwed into this reinforced box or directly into a wooden ceiling joist.
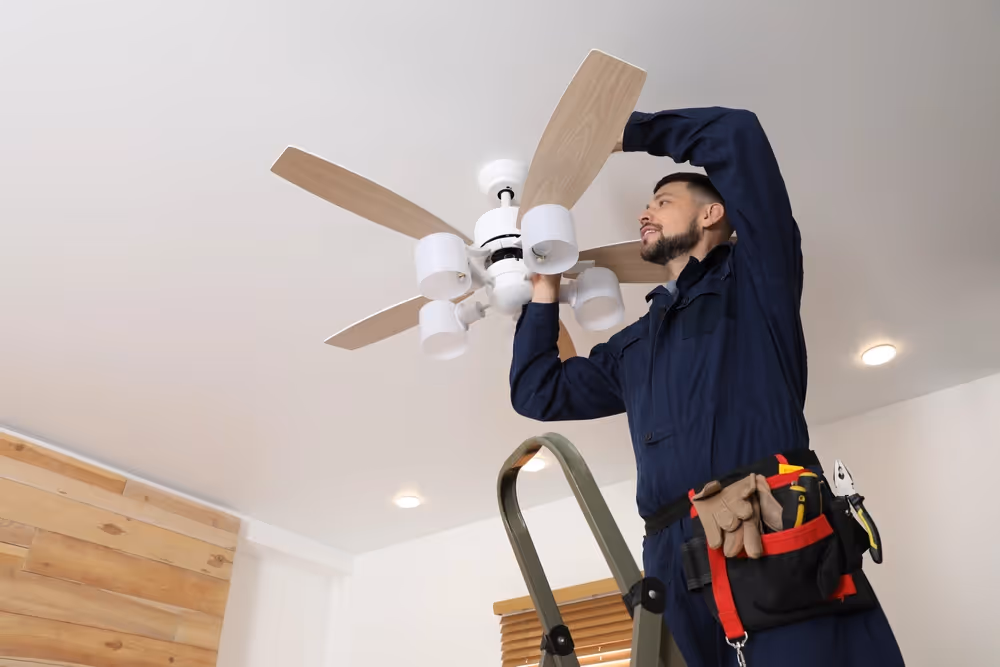
- Wiring and Hanging: The fan motor assembly is lifted and hung on the bracket hook. This allows the technician to use both hands for wiring. Connections are made using secure wire nuts and wrapped with electrical tape for added security.
- Final Assembly and Cleanup: Finally, the blades are attached, the light kit is connected, and the glass shades are secured. The power is restored, and the fan is tested. Once approved by you, the technician cleans up the workspace, removing all packaging and debris.
Deciding Between Repair and Replacement: A Quick Guide
Homeowners often debate whether to fix a malfunctioning fan or invest in a new one. While some issues are minor, others indicate that the unit has reached the end of its useful life. ReliaBee Air, Electric, & Plumbing helps you assess whether a repair or a full replacement is the most cost-effective choice.
When to Repair
- Minor wobbling: If the fan wobbles slightly, it may just need a balancing kit or tightening of the blade screws.
- Capacitor issues: If the fan hums but doesn't spin, or only runs on one speed, the capacitor might be faulty. This is a relatively inexpensive electrical component to replace.
- Switch failure: Broken pull chains or faulty wall switches are external to the fan motor and are generally worth repairing.
When to Replace
- Motor noise: Grinding, clicking, or loud buzzing sounds usually indicate internal bearing failure or motor windings burning out. These components are rarely serviceable, and a new unit is required.
- Age and Efficiency: Fans older than 10-15 years often use inefficient AC motors. Newer models utilize DC motors which are up to 70% more energy-efficient, quieter, and offer more speed control options.
- Outdated Aesthetics: If the fan looks dated or doesn't match a renovated room, replacement is the best option to upgrade the visual appeal of the space.
- Severe Wobble: If a fan shakes violently despite balancing efforts, the internal flywheel or blade irons may be warped. This is a safety hazard that warrants immediate replacement.
- Lighting Needs: Older fans often have dim, incandescent lighting with limiters. replacing the unit allows you to upgrade to integrated LED lighting for better brightness and lower energy use.
Understanding Local Requirements and Seasonal Considerations
Operating in San Antonio requires specific attention to local building codes and environmental factors. Compliance is not optional; it ensures the safety of your property and family.
Permit and Code Compliance
Electrical work in the area must adhere to the National Electrical Code (NEC). This includes specific requirements for junction box ratings and wire gauge sizing.
- Installations involving running new electrical lines where none existed before typically require a permit.
- Properly grounded circuits are mandatory.
- Switches must be positioned within reach of the room entrance.
Ceiling Height and Slope
Local housing stock varies from historic homes with high ceilings to mid-century modern homes with lower clearance.
- Height: For safety, fan blades should be at least 7 feet above the floor. If your ceiling is 8 feet or lower, a flush-mount fan is required.
- Slope: Many homes feature vaulted ceilings. Installing a fan here requires a specific adapter and a downrod extension to ensure the blades do not hit the slope of the ceiling. The length of the downrod depends on the angle of the roof pitch.
Outdoor Installations
Given the mild winters and hot summers, outdoor living spaces are popular.
- Fans installed on patios or porches must be "Damp Rated" if covered but exposed to humidity, or "Wet Rated" if exposed directly to rain.
- Installing an indoor-rated fan outside will lead to rusted components, drooping blades (due to moisture absorption), and electrical failure within a single season.
Seasonal Fan Direction
Your ceiling fan is a year-round tool.
- Summer Mode: The fan should spin counter-clockwise to push air straight down, creating the wind-chill effect.
- Winter Mode: During the cooler months, the fan direction should be reversed to clockwise at a low speed. This pulls cool air up and pushes warm air (which rises to the ceiling) out towards the walls and down to the floor. This thermal destratification helps reduce heating costs.
Why Choose Us? Your Local Ceiling Fan Installation Experts
Selecting the right service provider is the difference between a noisy, wobbly fixture and a silent, efficient cooling machine. We focus on technical precision and customer respect.
- Licensed Electricians: We do not use general handymen for electrical work. Our team consists of skilled professionals who understand load calculations and circuit safety.
- Upfront Expectations: You will know exactly what the installation entails, including any necessary upgrades to your electrical boxes, before work begins.
- Clean and Respectful: We treat your home with care, using protective coverings and ensuring we leave the space cleaner than we found it.
- Solution-Oriented: Whether you have a complex wiring situation, a high cathedral ceiling, or need advice on the right fan size, we provide clear, honest recommendations based on technical expertise.
Proper installation is the key to longevity and performance for your ceiling fans. Don't risk safety or settle for subpar airflow. Ensure your home stays cool and energy-efficient regardless of the weather outside.
Ready to improve your home’s comfort and airflow? Contact us today to schedule your professional ceiling fan installation.
Ceiling Fan Installations That Combine Function and Finish
Proper fan installation enhances airflow, lighting, and room control. ReliaBee Air, Electric, & Plumbing performs professional ceiling fan installation in San Antonio, TX, ensuring safe mounting, secure wiring, and full operation of fan speed and light functions. We handle replacements or new installations with care for both structure and aesthetics.
Get Ceiling Fans Installed Right—No Wobble, No Wiring Risk

Current Offers for
San Antonio Homeowners
Free Plumbing Safety Check


$59 AC Tune-Up
5% OFF FOR SENIORS
5% OFF FOR VETERANS & FIRST RESPONDERS

5% OFF FOR EDUCATORS


What Your Neighbors Are Saying